In today’s modern world, electricity has become a necessity for preserving food. However, have you ever wondered what people did in the past to keep their food fresh before the advent of electricity? This article explores the best methods for preserving food without relying on electricity. From traditional techniques passed down through generations to innovative solutions, you’ll discover a range of options that can help you keep your food fresh and delicious for longer periods. Whether you’re an avid camper, an off-grid enthusiast, or simply curious about alternative methods, this article has got you covered. So, let’s embark on a journey of learning and explore the fascinating ways to preserve food without electricity!
Drying
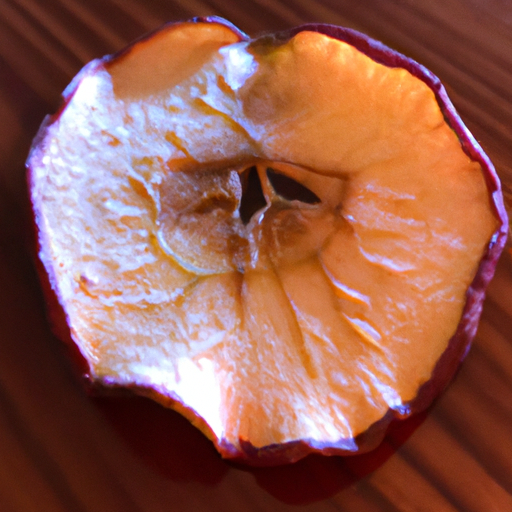
Sun drying
Sun drying is one of the oldest and simplest methods of preserving food without electricity. It involves exposing the food to the sun’s heat and airflow until it is completely dried. This method is commonly used for fruits, vegetables, and herbs. To sun dry food, start by washing and slicing the produce into thin, uniform pieces. Arrange them on a clean surface or on drying racks in a single layer. Place the food in a sunny location with good air circulation, turning the pieces occasionally to ensure even drying. The sun’s heat will gradually remove the moisture from the food, preserving it for long-term storage.
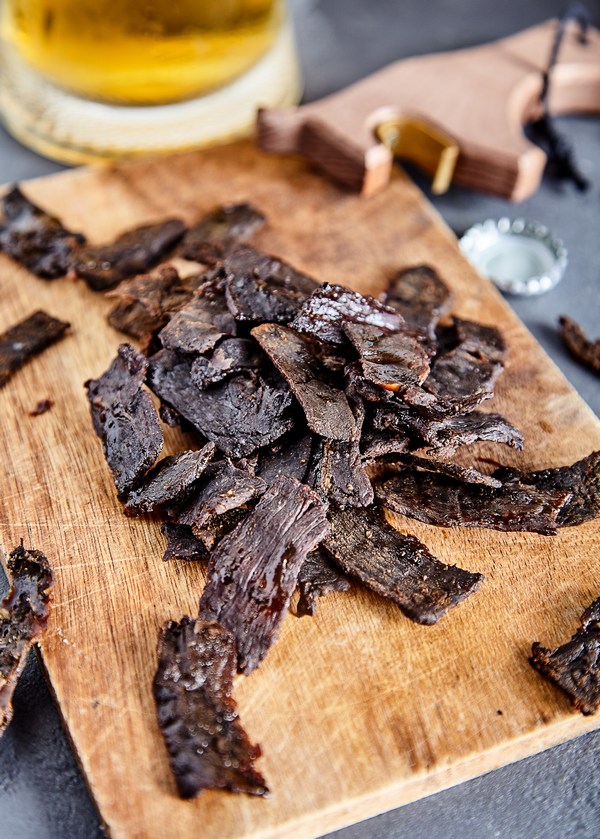
Air drying
Air drying, also known as natural drying, is another effective method to preserve food without electricity. It is especially suitable for herbs, spices, and certain types of meat. To air dry food, start by selecting fresh produce or meat that is free from blemishes or signs of spoilage. For herbs and spices, tie small bundles together and hang them in a cool, dry, and well-ventilated area. Make sure to keep them away from direct sunlight to prevent loss of flavor and color. For meat, thinly slice it and hang it in a similar location, ensuring that there is enough space between the slices for proper airflow. Regularly monitor the drying process and remove any pieces that show signs of spoilage.
Dehydrating
Dehydrating food is a popular method of preservation, as it allows for the removal of moisture while retaining the majority of the food’s nutrients. This method can be achieved using a dehydrator or an oven set at a low temperature. Dehydrators provide controlled heat and airflow, making the process more efficient and consistent. To dehydrate food, slice it into uniform pieces and arrange them on the dehydrator trays, leaving space for proper air circulation. Set the temperature according to the food being dried and the dehydrator’s instructions, and let it run for the recommended time. If using an oven, place the food on a baking sheet lined with parchment paper and leave the oven door slightly ajar to allow moisture to escape. Regularly check on the food and rotate the trays if necessary. Once the food is completely dry, store it in airtight containers.
Canning
Water bath canning
Water bath canning is a simple and accessible method for preserving high-acid foods such as fruits, jams, jellies, and pickles. To begin the process, thoroughly wash and prepare the food, removing any bruised or damaged portions. Place the prepared food into sterilized jars, leaving the recommended amount of headspace. Prepare a boiling water bath by filling a large pot with enough water to completely cover the jars. Place the jars in the pot, ensuring they are fully submerged, and bring the water to a rolling boil. Follow the specific recipe or guideline for the required processing time, adjusting for altitude if necessary. Once the processing time is complete, carefully remove the jars from the water bath and let them cool on a towel-lined countertop. As they cool, the lids will seal, creating a vacuum that protects the food inside.
Pressure canning
Pressure canning is essential for preserving low-acid foods such as vegetables, meats, and soups, as they require higher temperatures to eliminate the risk of foodborne illnesses caused by bacterial contamination. To start, clean and prepare the food, removing any unwanted parts or blemishes. Place the prepared food into sterilized jars, leaving the recommended amount of headspace. Fill the pressure canner with the specified amount of water and place the filled jars inside on a rack. Follow the canner’s instructions for sealing and pressurizing. Once the appropriate pressure is reached, start the timer according to the recipe or guideline, adjusting for altitude as needed. After the designated time, turn off the heat and allow the canner to depressurize naturally. Carefully remove the jars once the pressure has been released, and let them cool on a towel-lined countertop. The lids should seal as they cool, ensuring the safety of the preserved food.
Root cellars
Building a root cellar
Building a root cellar is an excellent way to preserve a variety of fruits, vegetables, and even canned goods. A root cellar is an underground or partially underground storage space that offers a naturally cool and humid environment, ideal for long-term food preservation. When building a root cellar, choose a suitable location with proper drainage and insulation. Excavate the area, making sure to create a strong foundation and walls to support the structure. Consider incorporating insulation materials like straw bales, wood, or even earth to maintain a consistent interior temperature. Install proper ventilation to control humidity levels and prevent the buildup of mold. Once the root cellar is constructed, organize the food items according to their specific storage requirements, maximizing the lifespan of each item.
Using a root cellar
Using a root cellar is a practical and efficient way to store a variety of perishable food items. When utilizing a root cellar, it is essential to monitor the temperature and humidity levels regularly. Ideal root cellar conditions typically range from 32°F to 40°F (0°C to 4.4°C) with a humidity level between 85% and 95%. Root crops such as potatoes, carrots, beets, and onions can be stored by cleaning and drying them thoroughly, then placing them in crates or baskets with proper ventilation. Apples, pears, and other fruits benefit from being individually wrapped in newspaper to prevent bruising and stored in a separate area of the root cellar. Canned goods and preserves can also be stored in a root cellar, ensuring they are properly labeled and organized for easy access. Regularly inspect the stored items, discarding any that show signs of spoilage to prevent the spread of contamination.
Fermenting
Vegetable fermentation
Vegetable fermentation is a process that utilizes the natural ability of beneficial bacteria to preserve and transform vegetables into flavorful and nutritious treats. To ferment vegetables, start by selecting fresh and firm produce. Rinse them thoroughly, removing any debris or dirt. Cut or shred the vegetables into desired shapes and pack them tightly into clean, sterilized jars. Prepare a saltwater brine solution by dissolving salt in water and pouring it over the vegetables, ensuring they are fully submerged. Place a weight or fermentation lid on top to prevent oxygen exposure. Store the jars at room temperature for the initial fermentation period, typically 1 to 4 weeks, depending on personal taste preferences. As the vegetables ferment, the bacteria convert sugars into lactic acid, giving the vegetables their tangy and slightly sour flavor. Once the desired taste is achieved, transfer the jars to the refrigerator to slow down the fermentation process and enjoy the delicious, preserved vegetables.
Fruit fermentation
Fruit fermentation is a lesser-known method of preserving fruits but can yield unique and delicious results. Begin by selecting ripe fruits, washing them thoroughly, and removing any stems, cores, or undesirable parts. Cut or slice the fruits into smaller pieces and transfer them to clean, sterilized jars. Fruits with high sugar content can undergo spontaneous fermentation without the addition of any external agents. However, for fruits with lower sugar content, adding a small amount of sugar or a natural sweetener like honey can help kickstart the fermentation process. Similar to vegetable fermentation, place a weight or fermentation lid on top of the fruit-filled jars and let them ferment at room temperature. The fermentation time can vary depending on the fruit and desired taste, ranging from a few days to a couple of weeks. Once the fruits have reached the desired level of fermentation, transfer them to the refrigerator to halt the process and enjoy the uniquely tangy and slightly effervescent preserved fruits.
